
This article is a follow-up of two earlier posts:
- Signature Documents: An Integrated On-Boarding Resource
- General Overview: Setting Up Signature Documents for Clients
To provide signature documents to clients, first you will need to copy the Master Signature Documents into your database.
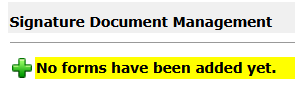
To start, navigate to Other_Data: in the bottom section, Letters & Document Templates, and choose Signature Document Forms … as outlined in red in below:
When the page opens, tap the plus symbol to add documents from the Master List:
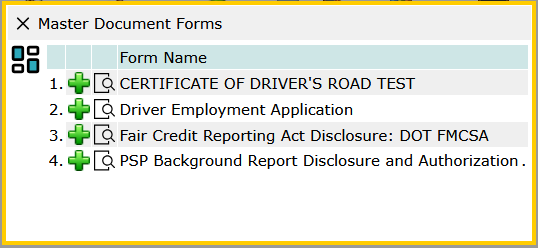
To review the document content, click the symbol: 
To add a document, tap the symbol: 
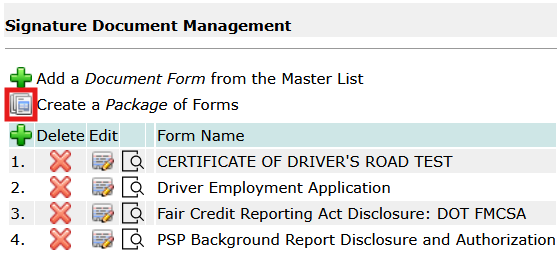
Create a Package of documents: After adding all the documents, you can create a package of documents so they can be issued in a single request.
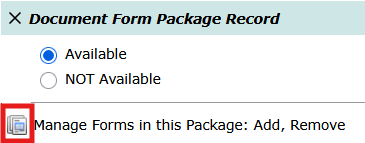
Click the symbol highlighted in red below to create a package:
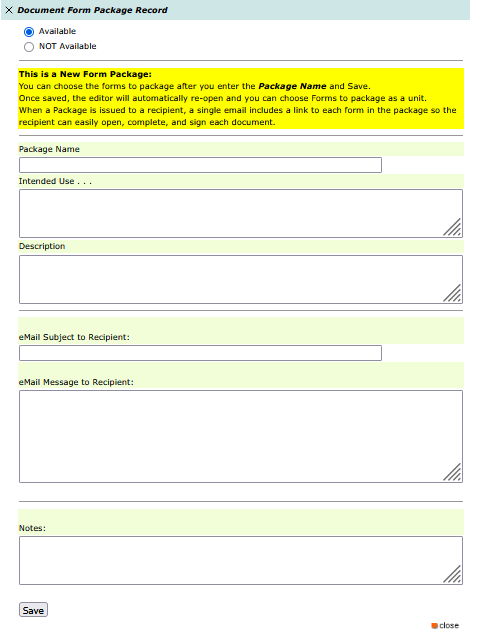
A Package has a number of components you will need to specify:
- Package Name
- Intended Use
- Description
- eMail Subject
- eMail Message
- Notes
Here’s an example of what you can enter into the profile for the document package:
Package Name:
Driver Employment Application Package
Description:
A package of documents used to collect driver employment information and required authorizations during the hiring or on-boarding process. This package includes the Driver Employment Application, Fair Credit Reporting Act authorization and disclosure, and PSP authorization form.
Email Subject to Recipient:
Driver Employment Application and Authorization Forms
Email Message to Recipient:
Please complete the following documents as part of the driver employment and onboarding process.
The package includes the Driver Employment Application and authorization forms that may be required to obtain information related to your employment history, background, and driving record.
Please open each document using the links below, review the information carefully, complete any requested fields, and provide your electronic signature where required.
After each document is completed, it will be returned electronically to the company that issued the package.
After the Package Profile is saved, go back to the package profile editor and choose the documents that will be included in the package:
From the dropdown list choose a document and tap the plus symbol to add it to the package. Add each one needed to complete the package. The issuer will be able to send an email that includes the links and authorization credentials for each signature document in the package.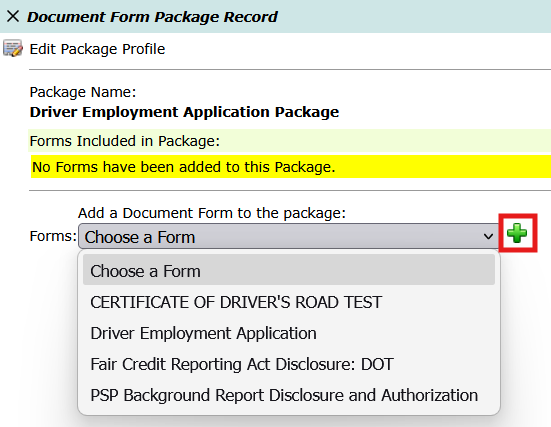
Now that the Master Documents have been copied into the database, and the package created, you can assign documents and packages to the clients. As more documents are added to the master list, every client may not need all of them. Assigning documents to the client makes issuing documents streamlined.
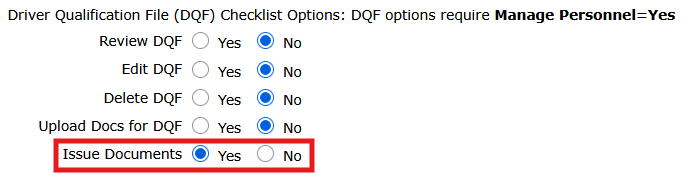
You will also need to enable the client contact to issue documents: open the contact profile editor for the contact, open the Access Opts section, and set the attribute, Issue Documents, to Yes.
Next, assign the documents to clients.
This is covered in the article: Step 2: Assigning Signature Documents to Clients.